Pages

Showing posts with label Canvas. Show all posts

Wednesday, 13 July 2016

Blue Fern July Project with Video Tutorial

Hi, everyone. Today I'm sharing my July projects for Blue Fern Studios.
I made a canvas with video tutorial and a layout.

Remember Moments


First up I made this 8x10 burlap canvas using the Tranquility collection, chipboard and lots of embossing powders.

Here is my video:


And my close ups:


Blue Fern Studios Products used:
Paper:
Tranquility Collection: Hushed and Peaceful

Chipboard:
Remember Moments
Beaded Flourish

Embossing Powder:
Cotton Candy
Snow
Oatmeal
Mushroom
14 Karat

Glitter:
Pyrite

Flowers:
Attic Charm Daisies
Attic Charm Glitter Roses
Courtship Blooms
Courtship Roses
Tranquil Roses and Lillies


Adorable


For this layout I used the Courtship Lane Collection. I LOVE the soft pastel colours in this collection.
The papers are perfect to pair with flowers, lace and ribbons.
I chose the Courtship Lane Royal Street paper as my background. I added delicate details to this paper using distress ink and a stencil, along with a stencil and texture paste.


I used embossing powder to colour my chipboard pieces. For the word Adorable I used Mystic Plum and Petal. For the Swirly Circle I used Mystic Plum, Cotton Candy, Petal, and Lilac embossing powders.


I finished my layout with a generous amount of flowers and lace. I also used the embossing powder in Snow to stamp butterfly images onto Vellum paper.


Blue Fern Studios Products Used:

Courtship Lane Paper:
Royal Street
Town Gossip
Calling Cards

Chipboard:
Swirly Circle
Good Vibes Set

Embossing Power:
Mystic Plum
Cotton Candy
Petal
Lilac
Snow


Thanks for stopping by today

Bec


Monday, 16 May 2016

May shares for Blue Fern Studios

Hi there, today I have my May projects for Blue Fern Studios.

Beach Wedding Canvas


First up I have a canvas I made as a belated wedding gift for a friend


I began by covering the canvas with the new Tranquillity Collection papers: Serenity and Jubilation. I then used what was left over from these papers to make a photo mat.  


I distressed the edges of all the papers and I added modeling paste with a stencil to the background of the canvas.


I used the Persian Ornament Chipboard piece to go under the photo, I coloured this with the Mushroom Embossing Powder.
For the title Love Always I used two different embossing powders in Snow and Seven Seas.


To finish off I embellished this canvas with some of the gorgeous new Blue Fern flowers. I used Courtship Blooms, Courtship Roses and Tranquil Roses and Lilies.


Blue Fern Studios Products used: 
Papers: Tranquillity Collection -  Serenity and Jubilation
Chipboard:  Persian Ornament  Love Always
Embossing Powder: Mushroom, Snow and Seven Seas
Flowers: Courtship Blooms, Courtship Roses and Tranquil Roses and Lilies.

Mini Beach Shadow Box


My next Project is a mini shadow box made with the Tranquillity Collection


I used the Tranquillity paper Jubilation to line the squares inside the box as well as the outside edges and bottom of the box.


Then I used the Seven Seas Embossing powder to colour the top surfaces of the box.
I filled the mini bottles with the Gulf Coast and Blue Ice Glitters


I coated all the Seaside Seashells chipboard pieces with white sand texture paste, and when this was dry I rubbed a little distress ink over the surfaces.


I finished with off with a few real sea shells and Courtship Blooms, Courtship Roses and Tranquil Roses and Lilies.


Blue Fern Studios Products used: 
Papers: Tranquillity Collection -  Jubilation
Chipboard:  Seaside Seashells
Embossing Powder: Seven Seas
Glitter: Gulf Coast & Blue Ice
Flowers: Courtship Blooms, Courtship Roses and Tranquil Roses and Lilies.

The Future Belongs to Those who Believe on the Beauty of Their Dreams


And finally today I have a layout to share which I made with the Serendipity collection


I used the Serendipity Fascination paper as my background for this layout, I added some mists and texture pastes for colour and interest. Then I used the Serendipity papers Glee and Calling cards to make a photo mat.


I used the whole Natural Sprigs Set pack and covered all the pieces with white crackle paste. When the paste was dry I coloured them with a green mist and brown distress ink.


To colour the Folkart Frame I used Liquid Pearls in Bisque
For my title I cut one to the calling cards up and spread the words over my page


Blue Fern Studios Products used: 
Papers: Serendipity Collection - Fascination, Glee & Calling Cards
Chipboard:  Natural Sprigs Set & Folkart Frame


Thanks for Looking

Bec

Wednesday, 20 January 2016

Swirlydoos January Kit Reveal Blog Hop

Welcome to:
January Scrapbook Kit Reveal!

Thank you for joining our blog hop this month! If you came here from the Swirlydoos' blog, then you are on the right track. If not, go back to Swirlydoos' blog and start from there.  Make sure you leave a comment on all blogs for a chance to win a prize! And, make sure you have LIKED & FOLLOWED Swirlydoos on Facebook!!!

Swirlydoos is proud to bring you our beautiful January collection:

VINEYARD
And check out these coordinating add ons that perfectly compliment our January scrapbook kit! 


Are you a subscriber? If so, your kit is on it's way if you don't already have it! If not, check out the Swirlydoos store to see if there are any January kits or add ons in the store!

Has it sold out? - become a subscriber and not only will you never miss a kit again, but you'll also pay less for your monthly scrapbook kits!
*Mention this blog hop and save 10% on your first kit*

 Never miss one of our kits again!

We have some absolutely beautiful scrapbook projects for you to see today !!  

My first layout is made using this months sketch as inspiration. Here is the sketch, be sure to head to the Swirlydoos Forum or Facebook Gallery to enter your sketch interpretation to be in to win.


And this is my layout


For this layout I used the 7 Dots Thoughts Keeper paper No 5 as my background piece, then I cut a strip of the Thoughts Keeper paper in No 3 to go along the bottom and also frame my photo.


To add interest to my background I used a stencil from my stash with modeling paste and then some Gelatos to add colour.


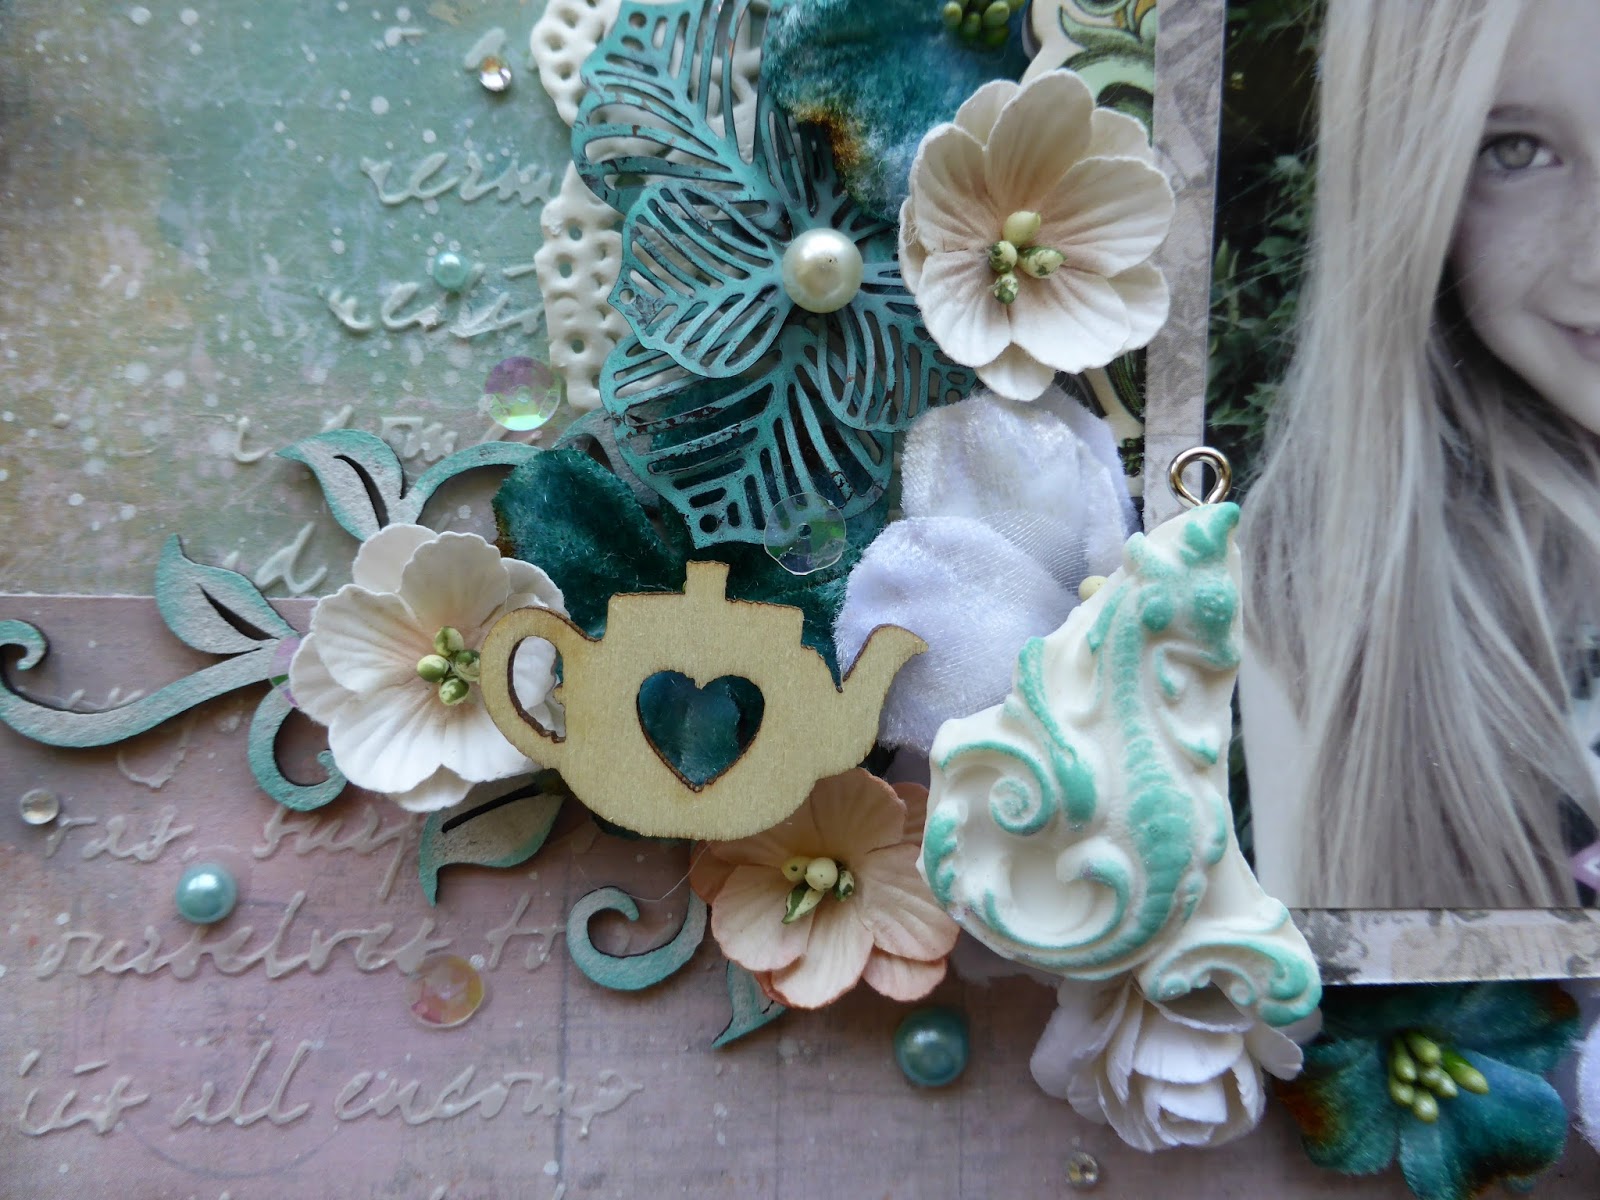
With the chipboard vines from the embellishment add on kit I first gave them a coat of gesso then added a teal ink to the edges. I used this same ink on the little resin dragon from the Prima Archival Casts in the embellishment add on kit, along with the Prima metal trinkets. I have also used the tea pot from the Prima Wood Icon's in the Main Kit


I picked out a few of the chipboard pieces from the Prima Royal Menagerie chipboard and more pack in the main kit to tuck in amongst my flowers. On this layout I used the Petaloo Vintage Velvet flowers which came in the flower add on kit. Plus I few peach flowers from my own stash. I finished off the layout with some blue pearls  and sequins from the Main kit as well as the silver rhinestones from the project add on kit.


Next up I have a mosaic canvas made with the Project add on kit 

I made a video tutorial of this canvas to show you how to make a beautiful mosaic canvas of you own.
Here is the video:


Be sure to check out Tim Holtz's video tutorial on the Mosaic kit Here

Products used:
Paper for the Bird
Prima Royal Menagerie  Queen for the Day and Flutterby. 7 Dots Thoughts Keep No 3
For the mosaic background
Project add on kit: 12 x 5.5 inch canvas, Tim Holtz Mosaic kit, lace, Prima flowers
Prima Royal Menagerie Salt Water plus 7 Dots Thoughts Keeper No 5 and No 3
Main kit: Prima flowers, Baby blue pearls, Dusty Attic flourish chipboard, American Crafts dictionary vellum sheet, Prima Royal Menagerie chipboard and more.
Embellishment add on kit: Prima Archival Casts, Lavender Pearls
From My Stash - Blue Fern Embossing powder in Mystic Plum, Distress inks in Tattered Rose, Milled Lavender, Bundled Sage, Old Paper and Vintage Photo


And finally today I have a second layout to share


For this one I used the Prima Royal Menagerie paper Queen for the Day as my background paper, plus a second piece of that same paper and the flutterby sheet to layer under my photo.


I used the Dusty Attic chipboard frame from the project add on kit to frame my photo. To colour it I used the Art Anthology paint in the mediums add on first, then I went over with the Prima Purple mica from the mediums add on. This was because the mica powder by itself was too bright for this LO and the black paint underneath toned it down.  Finally I went over the frame with some pale purple chalk ink to give it more of a shabby look. I did these same steps on two round resins from the Prima Archivist casts in the embellishment add on kit.


I used the Petaloo Calia lilies from the main kit with some Prima Royal Menagerie flowers from the kit. I added some black and purple roses from my stash.


On the backgound I used a stencil from my stash with some black ink, this was a nice change from my usual modeling paste :) On this layout I also used the Prima chipboard and more pack in the main kit and Black and Lavender pearls from the embellishment add on kit.


I used some butterflies prints on vellum, glass beads and glass glitter from my stash. Then I finshed off the layout with some splatters using the Prima purple mica and Tim Holtz splatter brush both from the mediums add on.

You have until midnight, eastern time, January 22nd to complete the hop. Winners will be announced on the Swirlydoos Blog on 01/25.  In order to qualify to win here is what you need to do:

1: Visit all of the blogs and leave a comment on each. This way we know you were there. Take your time. There are REALLY beautiful things to see along the way.
2: Before you leave each blog, look for the “special” words and write it down. 
Once you have visited all the blogs and collected all the special words, they will create a sentence. 
3: Finally, go back to the Swirlydoos blog and leave a comment letting us know how much fun you had, tell us the sentence that was created with all of the special words you collected. Can't wait to hear from you.


My special word is : Choose


The party continues over at Kim's blog. Have fun!


Blog Hop Order: 


Thanks for stopping by


Monday, 21 September 2015

Blue Fern's Paisley & Vine for Bella Paperie

Hi there, I hope everyone is well. I've been super busy catching up on all the scrapping I missed while I was away on holiday. It's this blog writing part that I dislike the most though - I love the creating aspect but find the writing up boring.
These two projects are the latest things I have made for the Bella Paperie Store using the Paisley & Vine collection from Blue Fern Studios, this collection has lots of bright colours and patterns which are not usually my first choice but I love that I got to have a bit of a change on this one.

One of A Kind

I love this pic of my little one pulling funny faces when I was taking photos.


I started by adding some texture to my background with a stencil and texture paste and then colour with Lindy's Stamp Gang Mists. I put the mist on with a paint brush and spread it around with water so I get the colours blending together,


I cut pieces of the Blue Fern paper to layer under the photos and arranged all my flowers around. 


Finally I added some glass beads and micro beads to the edges of my flowers for some extra texture.


Blue Fern Studios Paisley & Vine Collection Used:
Whimsy
Splendor
Playing Cards


This layout was inspired by the Lindy's Stamp Gang September Colour Challenge
Lindy's Stamp Gang products used:


 Free Spirit Canvas 


I made this 8 x 10 canvas also with the Blue Fern Studios Paisley & Vine Collection. This time I chose the more toned down papers in the collection. I love the teal and brown colour combo so this time I added grey to the mix and was really happy with how it turned out.


I used texture paste and stencils on the canvas before I added colour with mists. Then I layered up lots of paper to go under the photo. I finished of with my usual overload of flowers and embellishing.


Blue Fern Studios Paisley & Vine Collection used
Vineland
Bohemian
Splendor
Playing Cards

My projects along with most of the materials I used to make them are now in the Bella Paperie Store to look at close up.

Thanks for stopping by today 

Bec
 

Template by BloggerCandy.com