Pages

Tuesday, 19 January 2016

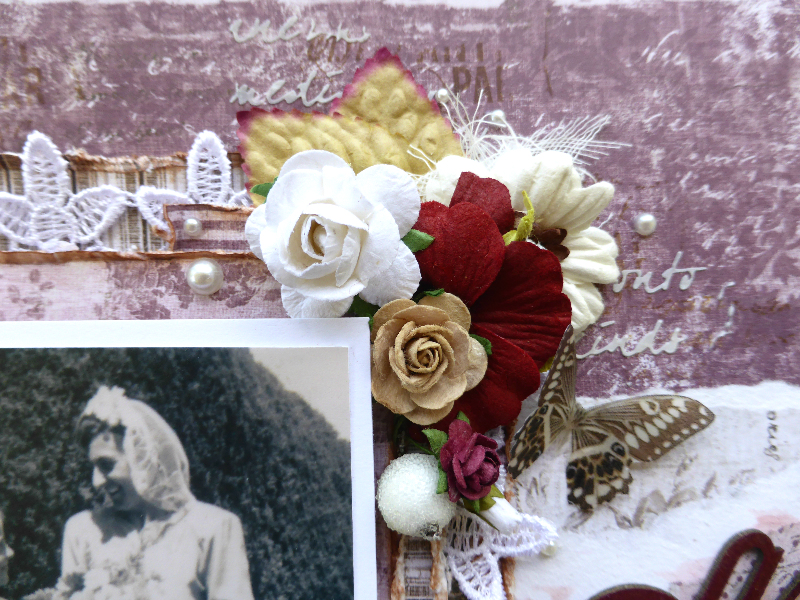
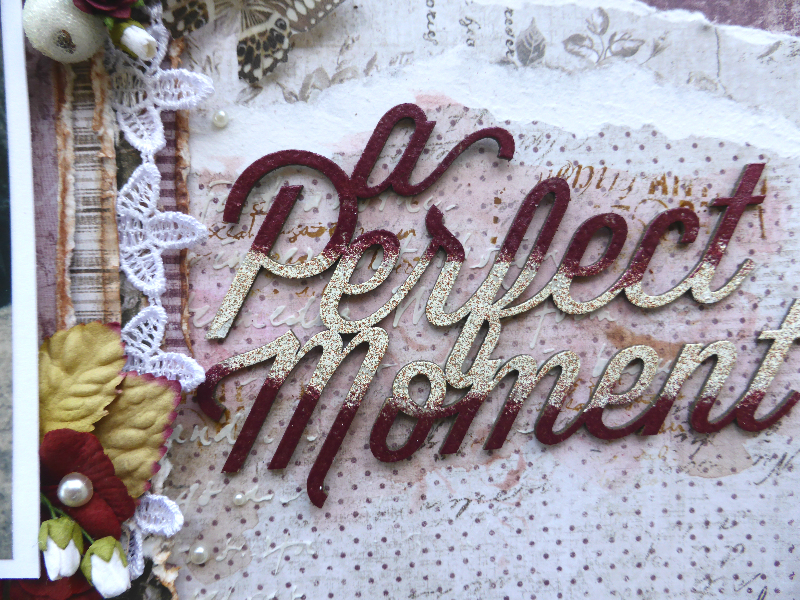
A Perfect Moment - for Maja Designs

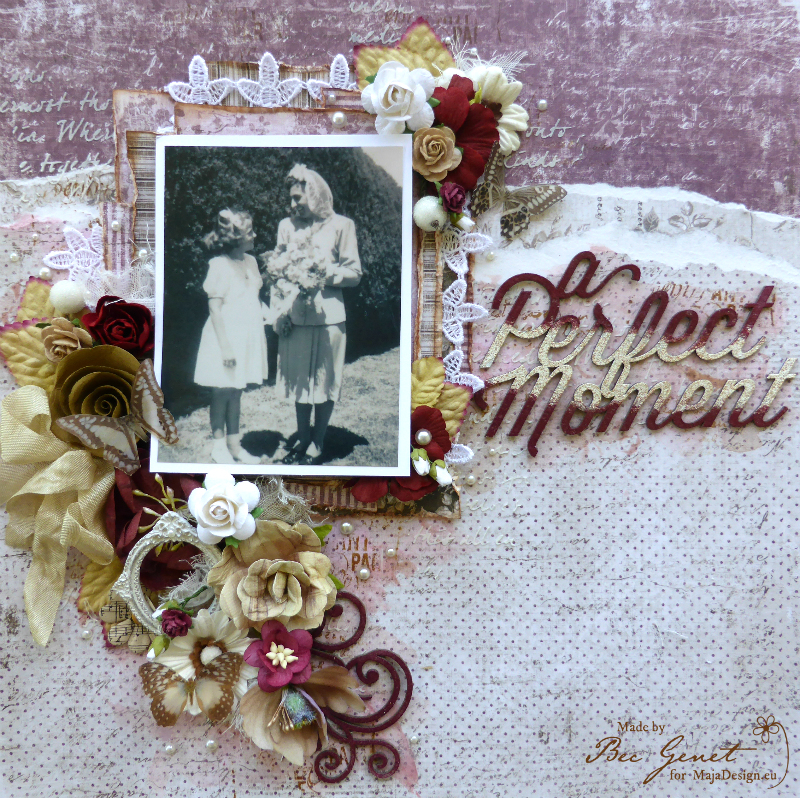
Hi everyone, I'm up on the Maja Designs Blog today and  I have a layout to share with you that I made with the Vintage Autumn Basics Collection. I love these vintage collections for scrapping my vintage photos
Maja - Perfect Moment 1
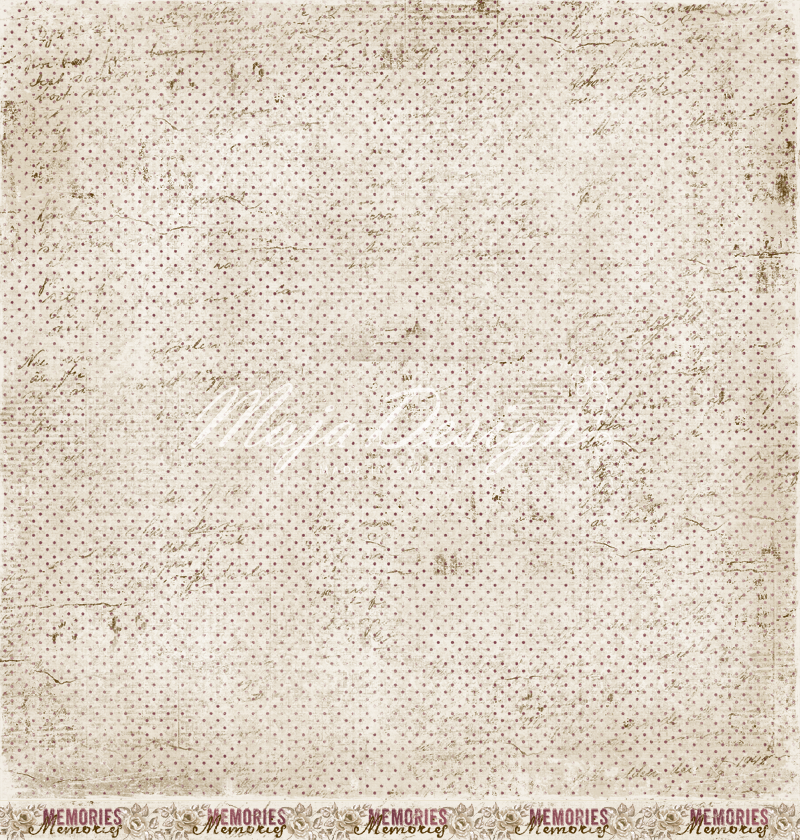
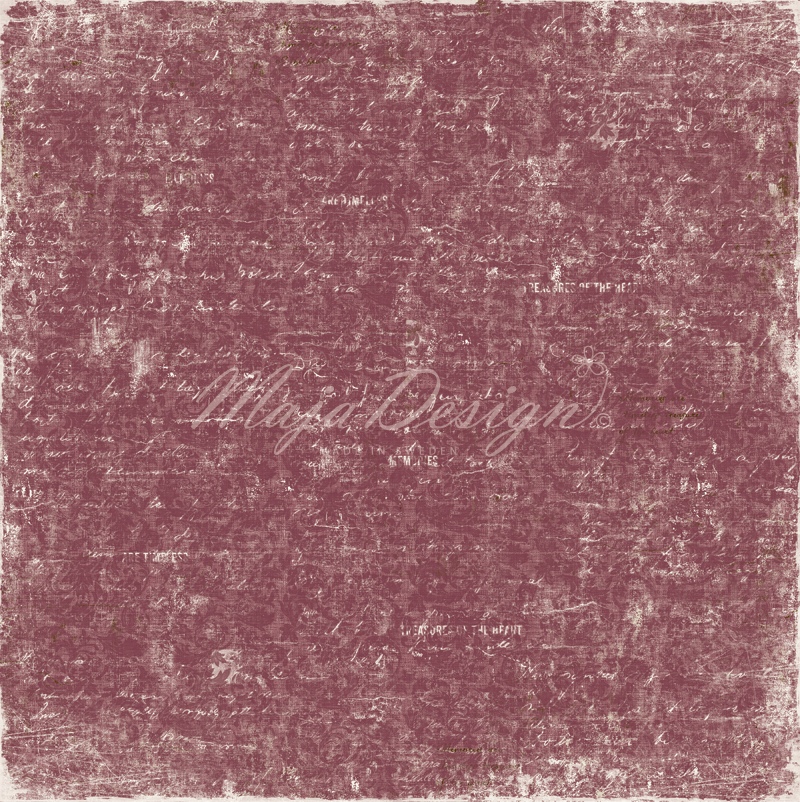
For the Background I used the Vintage Autumn Basics papers No V and No X.  I ripped the top from the No X paper, then layered the other side of the No X paper underneath. Next I glued these onto the No V paper before I added some texture with Modeling paste and a stencil.
Maja - Perfect Moment 2
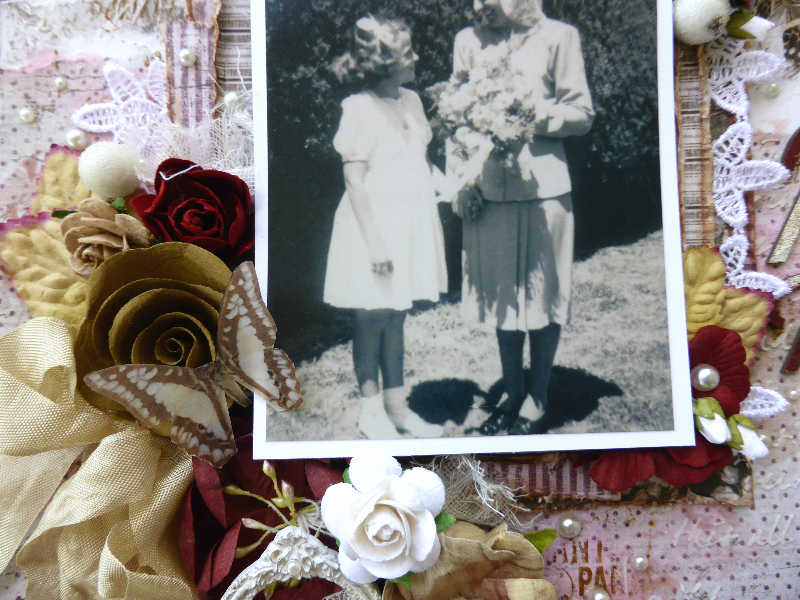
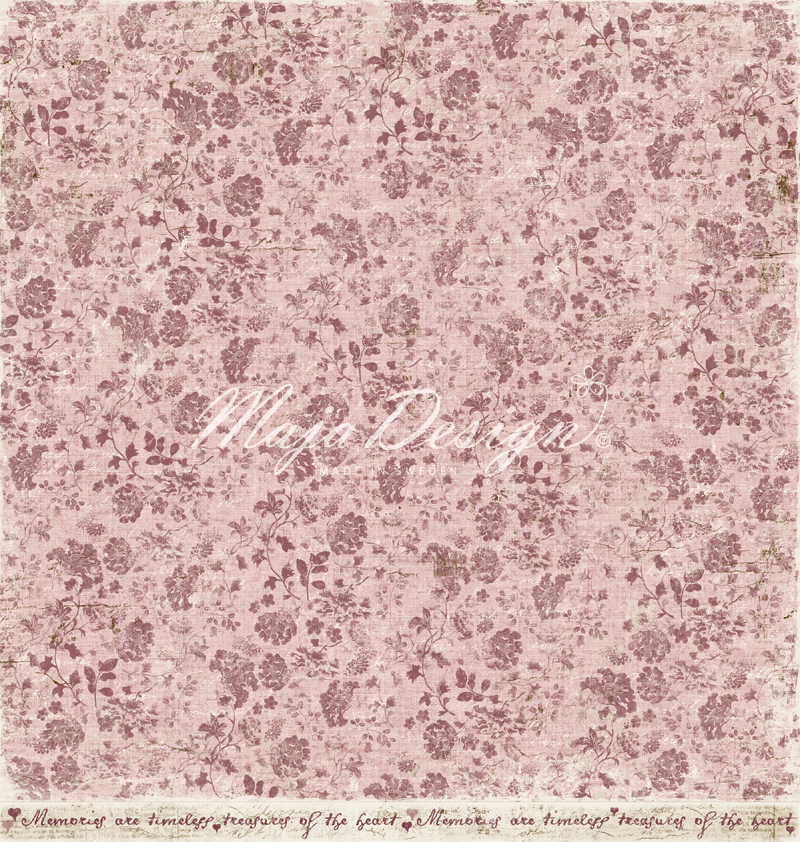
I cut the papers No IV and No XVII into pieces to layer under my photo, I distressed all the edges and inked them with Distress ink in Vintage Photo. This is a photo of my Great Grandmother on her wedding day with my Grandmother as a girl.
Maja - Perfect Moment 3
I added a little colour to the papers using Gelatos in pink, peach and brown. For my title I used a chipboard title from Blue Fern Studios that I coloured with two colours of embossing powder - Oatmeal and Garnet. 
Maja - Perfect Moment 4
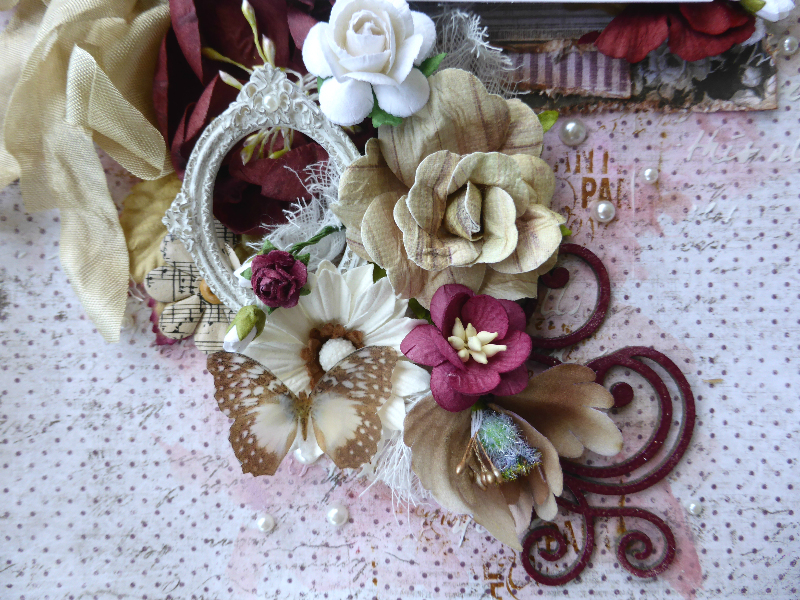
Next I added some random stamping, then I finished the layout off by adding a generous amount of flowers and embellishments
Maja - Perfect Moment 5

Autumn-Basics-P
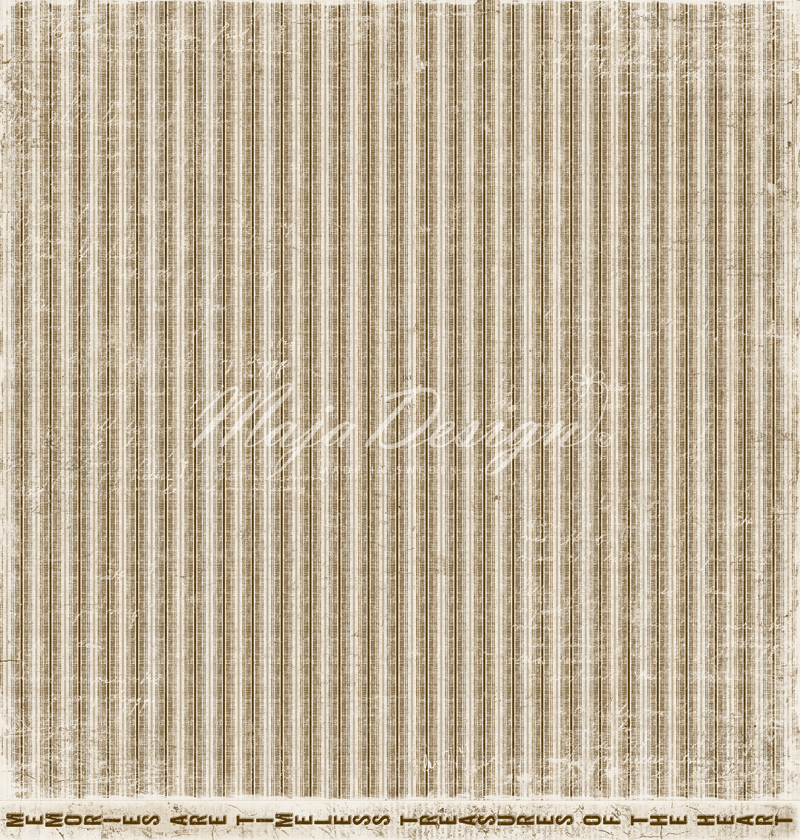
no.X BS no.IV BS no.XVII BSno.V
 Vintage Autumn Basics Papers Used: No X, No IV, No XVII, and No V

Thanks for joining me today, see you next time

Bec

Wednesday, 13 January 2016

Blue Fern projects for Januray


Hi, I'm so excited to bring you my first DT post for Blue Fern Studios. This month I even have a video tutorial to start off with. 

Amazing


Here is my video - Enjoy


And my close ups


Blue Fern Studios Products Used:
Papers: Love Story Collection - The Grand Ball, True Harmony, and Calling Cards
Chipboard - Beaded Strings, Floral Lattice Bits, Vintage Keys, and  Brilliant Amazing Dazzling pack.
Glitter - Pyrite
Embossing Powder - Honey and Petal
Stamps - Essential Textures and Postal Textures


Sweet

Next up I have a layout created using the January Sketch

Here is this months sketch, there is still lots of time to get your entries in for this, 
Head to the Blue Fern Blog for details


I used the Autumn Anthology collection for this layout.  
I started the layout by using the Stamps Weathered Doilies and Brocade Texture with embossing ink and the embossing powders in Honey and Bonny Blue.  


I added my colour with mists and then some modelling paste through a stencil to give the background more texture. 


The chipboard pieces Flutter Medley and Arrow Word are coloured with the embossing powders - Bonny Blue, Petal, Oatmeal and Honey. I coloured the Floral Lattice pieces with peach mica powder.


I cut several pieces of the Autumn Anthology paper to layer under my photo, I distressed all the edges and added brown ink to give a shabby look.


Blue Fern Studios Products Used:
Papers: Autumn Anthology Collection - Robin and Le Ballon
Chipboard: Arrow Words, Floral Lattice Bits, and Flutter Medley
Embossing Powder: Bonny Blue, Petal, Oatmeal, and Honey
Stamps: Postal Texture, Brocade Texture, and Weathered Doilies. 

Thanks for joining me today - see you next time

Bec

Tuesday, 5 January 2016

Happy for Maja Designs

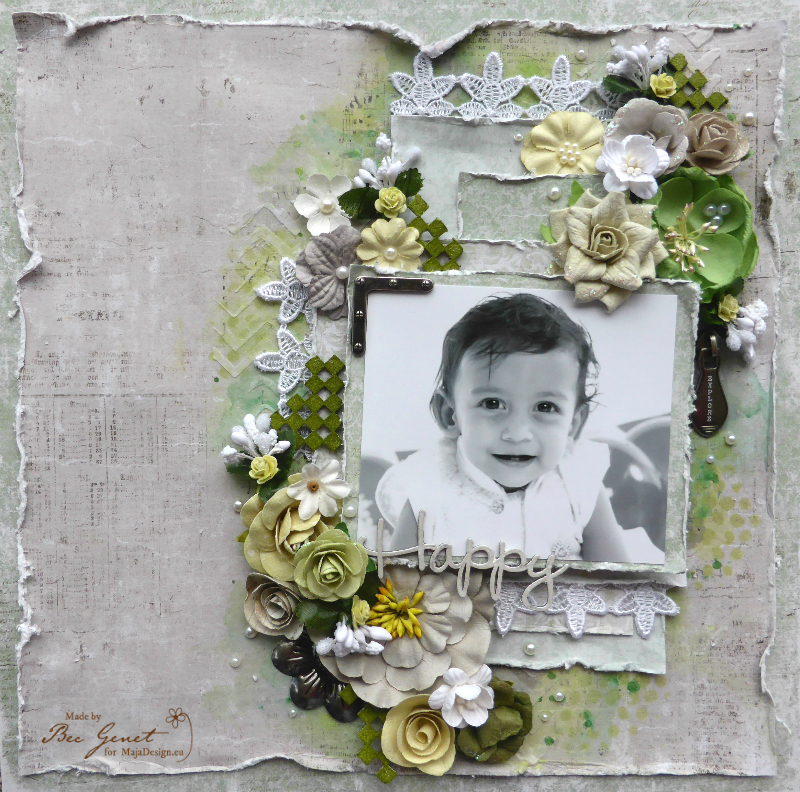
Hi everyone, I'm very exited to bring you my first post on the Maja Designs team. Today I have a layout to share that I made with a photo of a friends Son. I don't often make "Boy" layouts and I ended up putting lots of flowers, lace and pearls on it :) I went with a Green and Grey colour combo to try make it less feminine.   
P1070371 adjusted
I started by trimming the edges off and distressing the 1946 paper from the Vintage Summer Basics collection. I layered this on to the 11th of March paper from the Vintage Spring Basics Collection, before I glued them together I cut the middle section out to use to layer under my photo. I also used the 10th of March paper as well to layer under the photo.
P1070375 adjusted
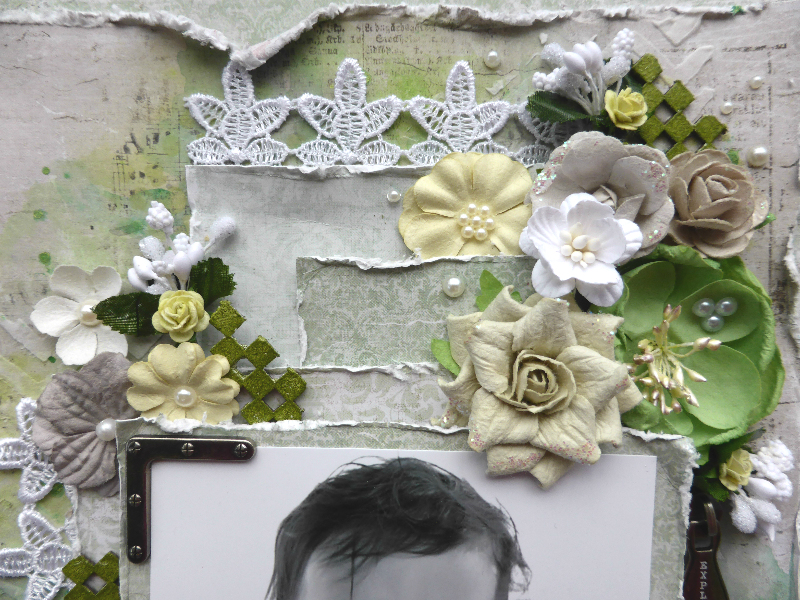
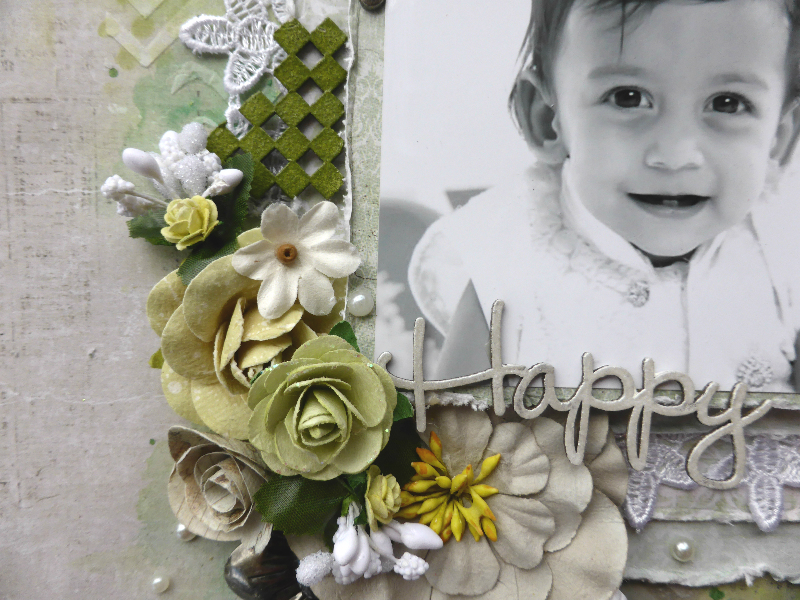
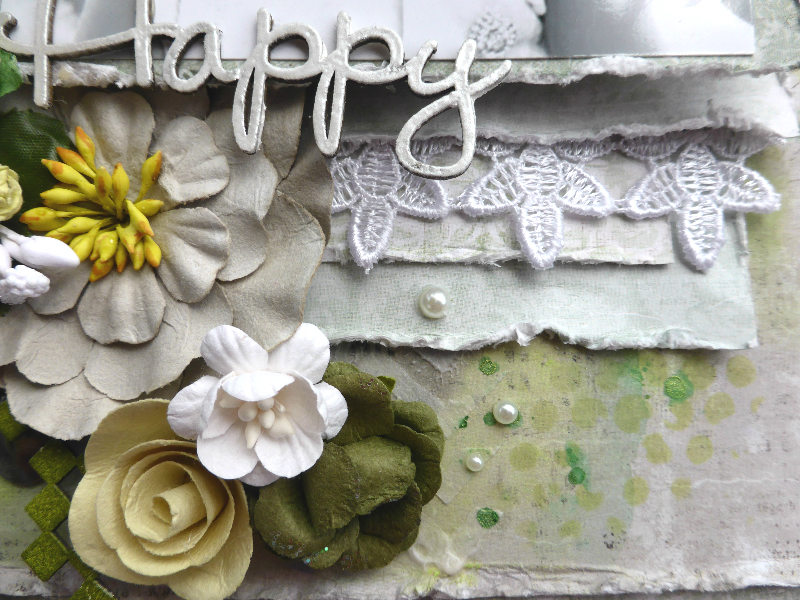
I added colour to the background with mists and Gelatos, with texture from using modelling paste and stencils. Once I was happy with my level of colour I glued down my paper layers, I distressed the edges of each piece first. I tucked some lace amongst my  layers before I added my flowers and some metal embellishments.
P1070378 adjusted
I finished off by adding some pieces of chipboard and pearls.
P1070381 adjusted
Collections used:


Vintage-Summer-Basics3
Vintage-Spring-Basics3
Thank you very much for visiting today

Monday, 4 January 2016

Maja Designs January Mood Board

Hi there, are you ready for a new challenge. The Maja Designs Mood Board is up and it's gorgeous!!
Head over to the Maja Blog to see the rules and check out the amazing creations from the other Creative Team Member.

Here is my take on the mood board


Here are the Maja Rules
We are using mood boards for our challenges. We truly believe in creativity and art at Maja Design. You are free to interpret the mood boards in any way you’d like. They are supposed to set you in an inspirational mood without too much controlling. We would like you to be inspired by the poems, words and photos. They are not given rules, they are just there as inspiration. Feel free to use any Maja papers you’d like as long as they follow the colour scheme.
We will pick a winner and present it here on the blog January 25th.
Have in mind that these challenges are a really great way for us to discover new talents and maybe some future Creative Team members…

How to participate?
♥ Create anything you’ll like – a layout, a card, something altered or maybe a canvas, take a nice picture of it and send it to moodboard@majadesign.nu. We also need to know your full name, address and a phone number. Please specify what collection you would like to win, if you are the lucky one. We will also want to know if you would like it in the size 12*12 or 6*6. Please send us the pictures in the size of 800 pixels on the width. We would be so grateful if you also could change the file name of the photo to your first and last name including your country.
♥ Feel free to send us more than one picture, from different angles or some close-ups – or why not more than one project?
♥ Publish the project/s on your blog (or/and any social media, e.g. Facebook, Instagram, Pinterest) with a link to our site. Please also add the picture of the mood board.
♥ Feel free to combine your entry with other challenges.
♥ The winner will be revealed the last Monday each month, in the Maja blog. The winner will be sent one collection by their choice, and also a digital Winner’s Badge to use and brag with.
We need your creation January 21st at the latest.


Here are my close ups

I used the Vintage Spring Collection paper, 5th of May, 4th of May and 7th of April.
From the mood board I used the colours of the board, the clock photo and the words - texture, clock and love as inspiration.
I used mists, stencils, Gelatos and modelling paste to add interest to the background. I have lots of paper layer which I tucked some twine and a doily in-between.


I used Blue Fern Chipboard Garden Lattice Bits and the title Perfect from the Perfect, Adorable, Special pack. These are all coloured with Finnabair mica powder in Vintage Pink


The clock details on the background are from using the Tim Holtz Clock stencil with Gelatos


I finished the layout off by adding cheesecloth, glass glitter, micro beads and pearls.

Thanks for visiting today

Bec

Sunday, 3 January 2016

Blue Fern January Sketch Challenge


The first Blue Fern Studios Sketch challenge is up for the year. A great sketch to start your inspiration off for 2016. Head to the Blue Fern blog to check out some amazing creations from the DT.

Here it is


Head to the Blue Fern Blog to enter
One lucky winner, selected by a random draw, will receive a prize package 
of Blue Fern Studios chipboard!

In addition, we will also select 3 (or more) layouts to feature.

We have just a few simple rules to follow if you would like to participate in our sketch challenge:

1.) Feel free to interpret the sketch as you please by means of taking it as-is or 
flipping/turning/mirroring it to suit your needs, but please make sure your layout resembles the sketch.

2). Please note that you can do whatever type of project you please - a layout, card, 
  canvas, altered item- whatever suits your mood and style! 
We would love to see the different ways our sketch can be used.

3.) You must use at least one piece of Blue Fern Studios chipboard OR use Blue Fern Studios paper on your project. Please note that you do not need to use the pieces featured in the sketch
- use whatever suits your fancy! You can find the store nearest you HERE.
 {Do not use any other brand of chipboard on your project, please!}

4.) Upload your project using the Inlinkz tool below by midnight EST on January 31, 2016

We look forward to seeing how you use our sketch and Blue Fern products!

Cant wait to see your creations

Bec


Saturday, 2 January 2016

Scrap The Girls January Reveal

Hi everyone. It's 2016 and to kick off the year there is a new challenge at Scrap The Girls.
This months it is anything goes, there is no moodboard or sketch. Instead you can create any layout at all as long as its about Girls. There is Darkroom Door goddies up for grabs, I was lucky enough to get some of these DRD products to use on this layout.


These are pics of my Niece being silly with a big hat and her Dad's sunglasses, cute photos to go with the Darkroom Door film strip pieces.
My film strips came with photos of flowers in them but I cut out the flowers so I could put in photos of my Niece instead.


I cut up the Darkroom Door word strips and used the words - Love you, Smile and Happiness. I inked these pink and added a black edge.


I used Maja Designs Vintage Summer Basics Collection for this layout. The papers I used were 1921,1922 and 1908
I also used Blue Fern Chipboard from the Picture Perfect pack along with the Blue Fern embossing powder in Cotton Candy, Ebony and Mystic Plum.

Thanks for visiting today

Bec
Tuesday, 29 December 2015

Dream

Hi, today I have a layout to share which I made for the Swirlydoos Round Robin challenge. This is a great challenge where you scrap lift the person before you's layout.
Head to the Swirlydoos forum to check out the details


For this I decided to use the Prima Epiphany collection papers. I only have a few pieces left as this is one of my favourite collections. 


I have also used Prima flowers, butterflies. lace, wood icon and crystals,


I used the Prima Roses stencil with Finnabair light paste on my background along with Prima Colour Bloom sprays in Glistening Waves, Soft Teal and Storm Cloud.


I was also inspired by this months Prima Product Pick. I love using all my Prima goodies.

Thanks for visiting me today

Bec


Template by BloggerCandy.com